Saturday Sandbox
I've been wanting our kids to have a sandbox for a couple of years. But when you rent the best kind of sandbox is a little tykes turtle. . . it's small. It's wonky. It's commercial. And, oh yeah, it is adequate.
So when we bought this house I wanted to put in a sandbox ASAP. But before that we needed flooring, paint, furniture, compost bin,- you know all the things that take higher priority.
I also didn't want to spend much money on this project. Seriously, I wanted it to be super-duper cheap. I started looking for large peices of scrap wood. Nothin. I pondered the scrap wood we had from flooring and just around the place. I'm wasn't convinced that laminate flooring would do well in our very wet winter, and there just wasn't much scrap wood to be found.
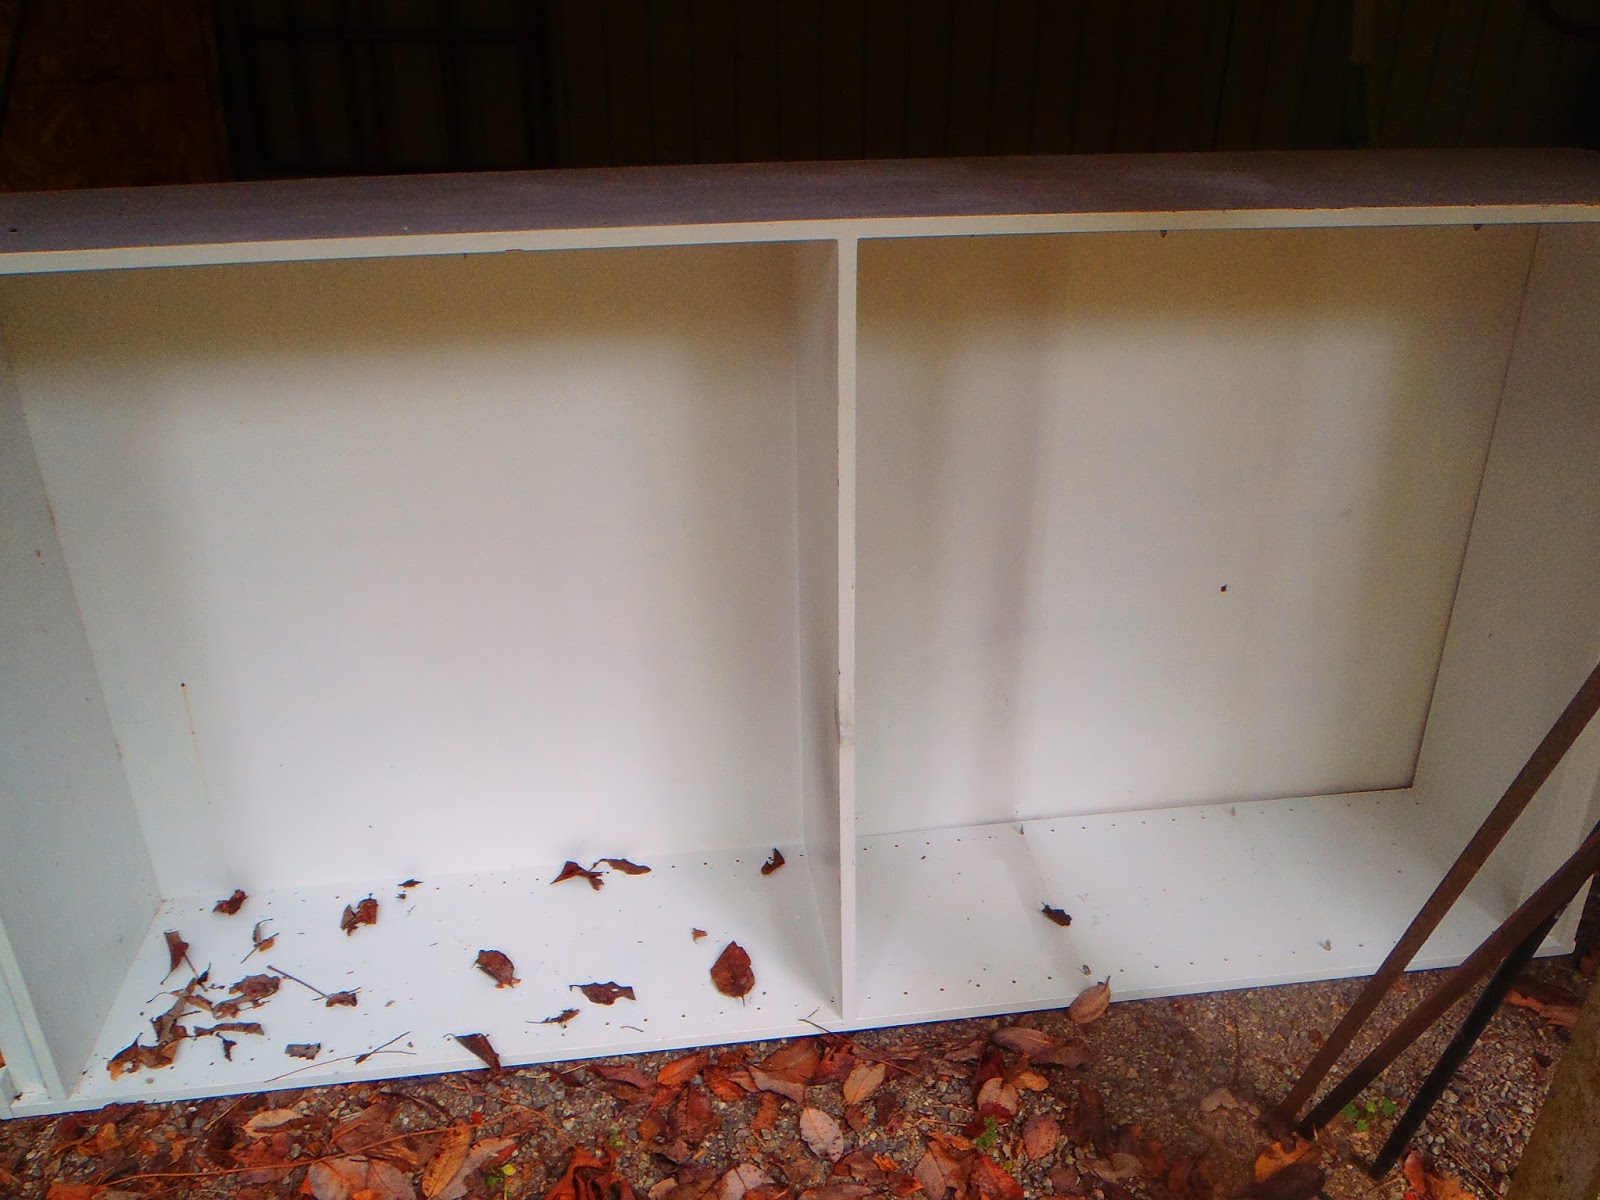
So I was thinking. I was a ponderin'. I was musing. And then, as my creativity blossomed, I had a revelation. You see this bookshelf in the picture below.

We'll it doesn't fit in our new house. It is too tall.
So there's not much use for it. That is until I realized: "This is going to be our new sandbox." It is large. It is wooden. It is rectangular, and most of all WE ALREADY OWN IT!
So here is how I turned this bookshelf into this sandbox!

Here's what I needed:
4 pieces of scrap wood cut to the depth of the bookshelf (mine was 16")
I had to use a saw to cut the scrap wood correctly so -
1 saw.
A bunch of screws -bolts would have been ideal but we didn't have any.
A drill
A hammer
A pair of plyers
And I used a clamp to hold the wood in place while I screwed it.
Um that's all I think.
So first I took off the back.
I just pounded it with a hammer.
Super simple.

Then put this baby on her back and got the center board out.
I hammered the walls "up" and, when I could see the nails I hammered the board over. Thus bending the nails on the other end and separating the nails (or were they brads) from the shelf.
The nails were pretty rusty and old so it was very easy. I imagine this would be destructive for some. I thought about leaving it in actually and kinda having 2 sandboxes.

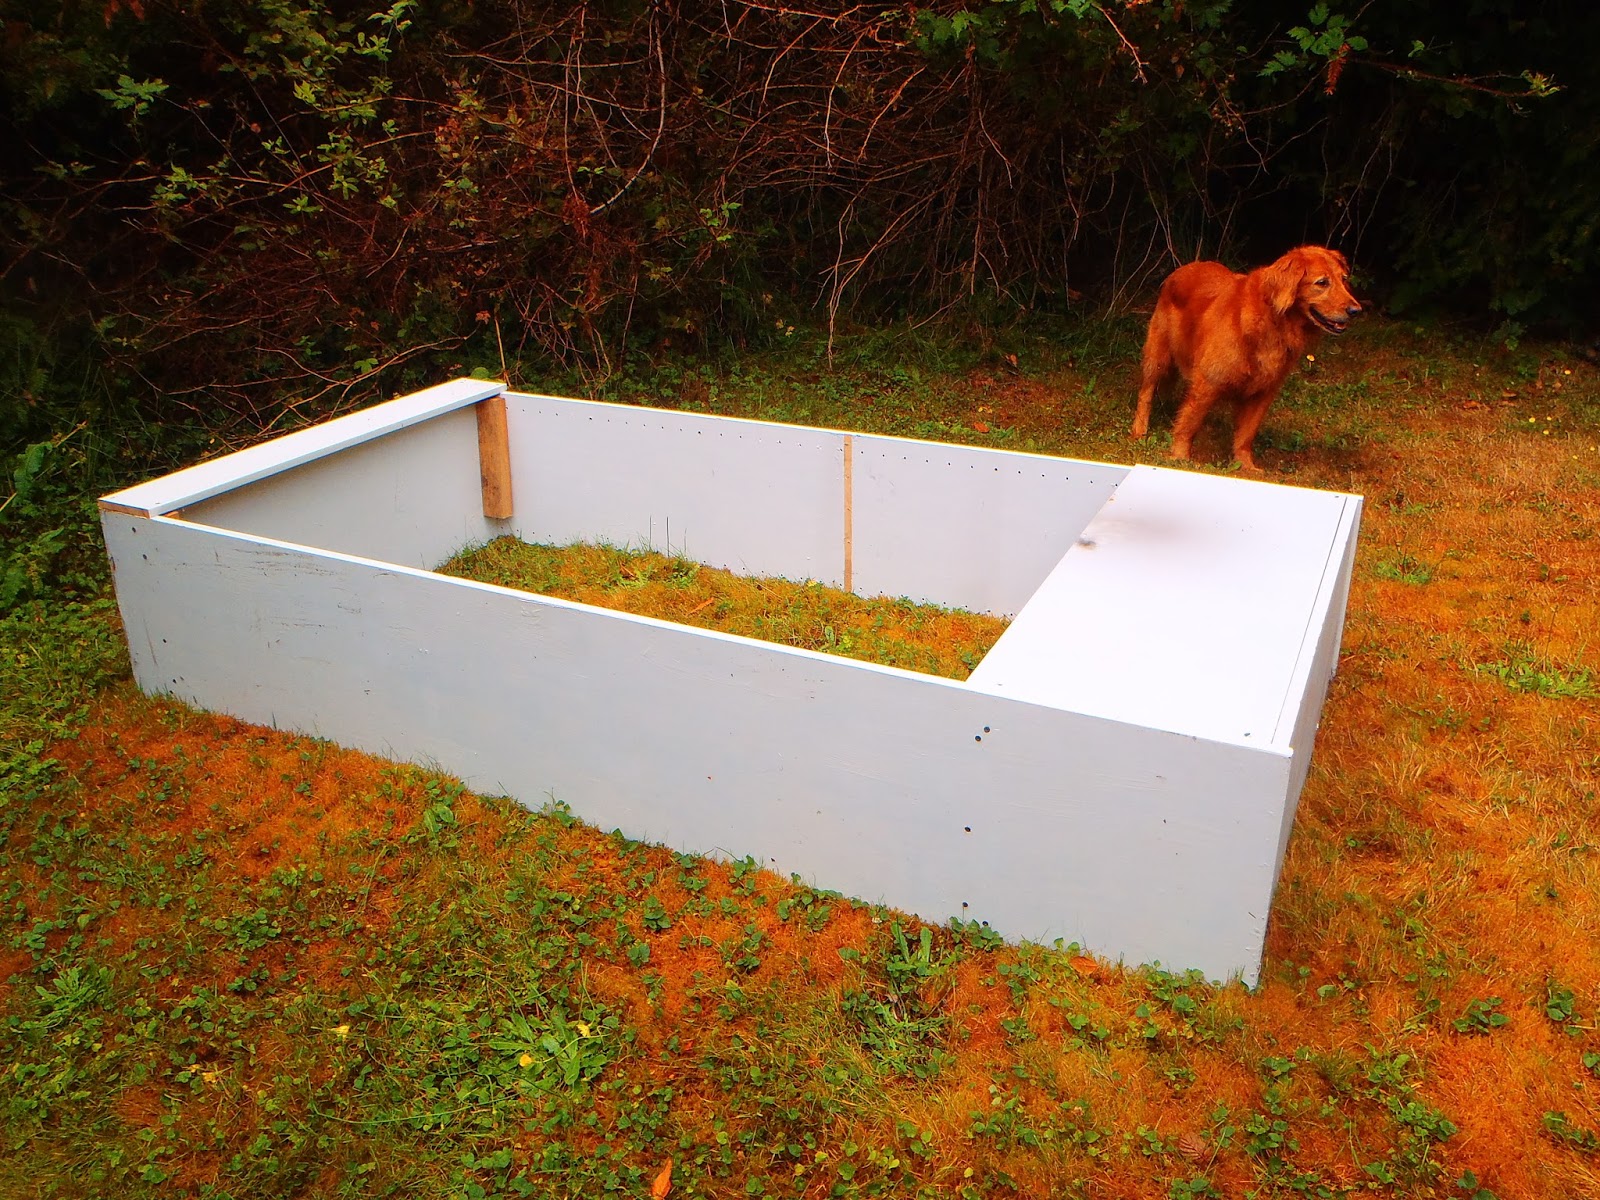
So then I have an empty frame of a box. It could be done at this point right? The problem is that it would be really wobbly If I just left it and since this is going to be outside I gotta support it for climbing, rotting, sitting banging and generally falling apart. So thus, I added some support!


So I added these babies. I clamped them and then screwed them on. All they are is a 2x4 cut into 16" lengths and screwed in the corner on one end and out 16" on the other end because on one end I wanted a bench. I mean, seriously I am 31 years old and I love a sandbox as much as the next guy- but the next guys doesn't like it all the time. Sometimes I am going to get stuck at the sandbox making sure no one is beating someone else up. So I just wanted a bench to sit on.
So alas, I took the shelf I had taken out of the middle and added it to the top. A perfect seat!


The other end- or the bottom of the bookshelf, I had 2 agendas. 1 I didn't want it to look too junky and 2 I realized that 2 adults would look a little silly sitting on that bench on the other end. So I used a piece of 1x4 to support the other end too! I thought about using on of the other shelves from the bookshelf part but I realized that would take away substantially from the actual sandbox play area.

Finally, I took off the wall attachment pieces. This baby was earthquake proof as a bookshelf. But I don't think that an sandbox needs earthquake proofing.. .

Ta Duh! All it needed was some sand. Since we don't own a pick up and having a fellow islander deliver some would cost us we decided to just buy some play sand.
We added 10 bags of playsand. And, just FYI, that means we added 500lbs of sand! Oh and then it wasn't full enough so we added 10 more. At the end of the day that means this cost us more than we would like $95.
That is, on the other hand. Kind of a deal.


But this is awesome. Seriously.

Comments
Post a Comment